June 28, 2018
12 Tips for Creating a Stunning Flower Arrangement
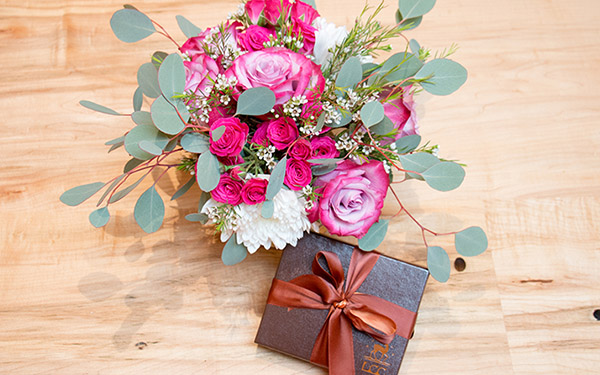
At Lake Champlain Chocolates we know a thing or about two gift-giving, and nothing is quite as timeless at the combination of beautiful fresh flowers and extraordinary gourmet chocolate! We recently had the honor of hosting the wonderful folks from Alice’s Table to learn how to arrange flowers. Creating a beautiful arrangement of flowers can be fun and easy. From assembling centerpieces for your upcoming wedding or shower, making a bouquet to go with your chocolate Mother’s Day gift, or simply arranging store-bought flowers to brighten your home — here are 12 important tips for creating a stunning flower arrangement.
Step By Step Tips for Arranging Flowers
Step 1. Pick the Perfect Flowers
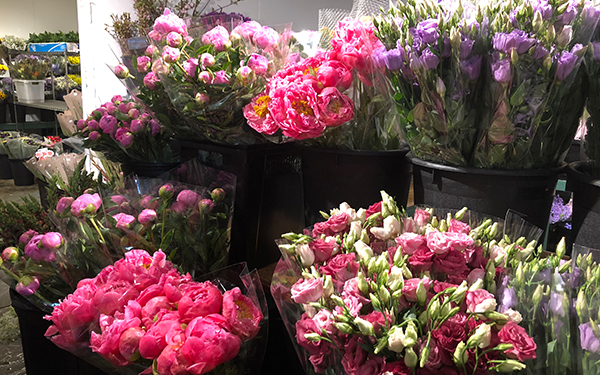
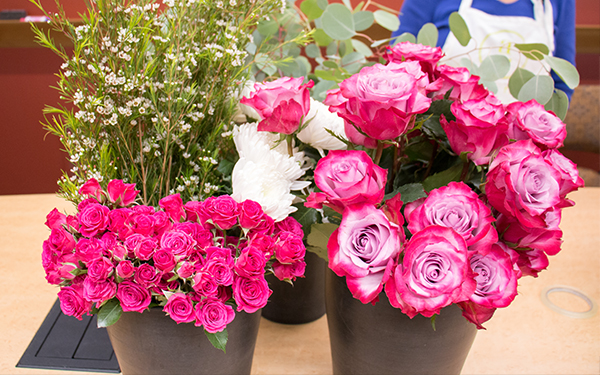
A beautiful flower arrangement starts with the right flowers. Begin by selecting the main color for your arrangement. Pick 2-3 flowers with varying shades of the same hue to complement each other. Then choose another bloom in a contrasting color, to create a pop of excitement.
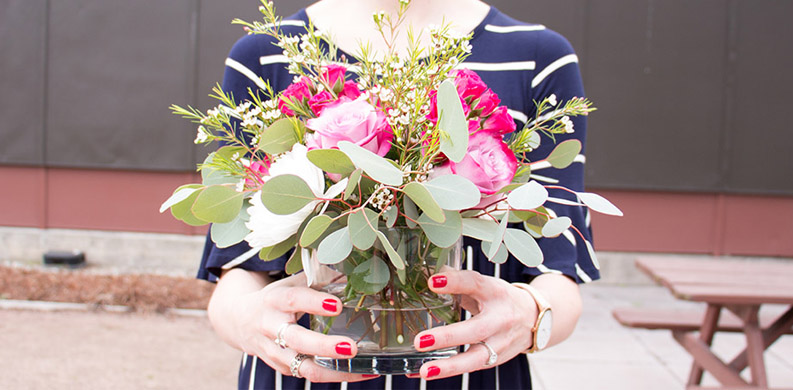
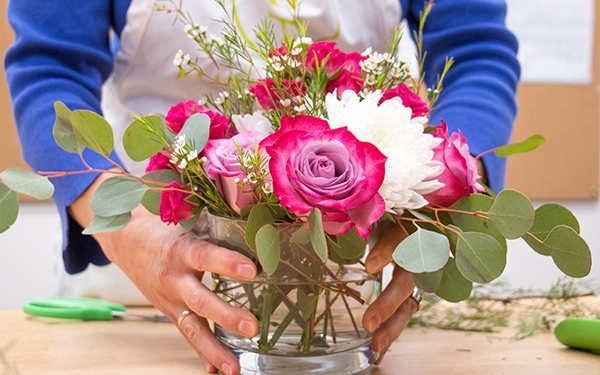
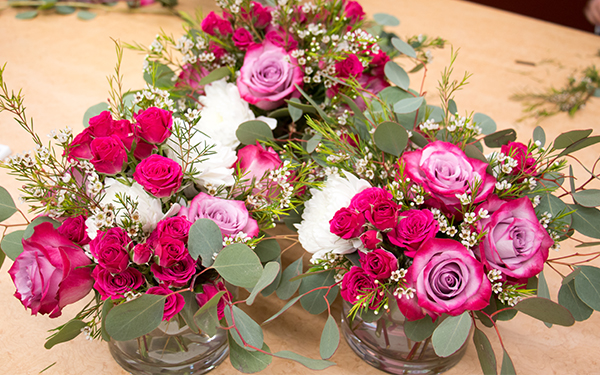
Our arrangement was pink-themed, because nothing says, “Hello Spring!” quite like a pop of fuchsia. We picked three main flowers — beautiful two-tone roses, berry pink spray roses, and large white mums.
Step 2. Add Texture to Your Floral Arrangement
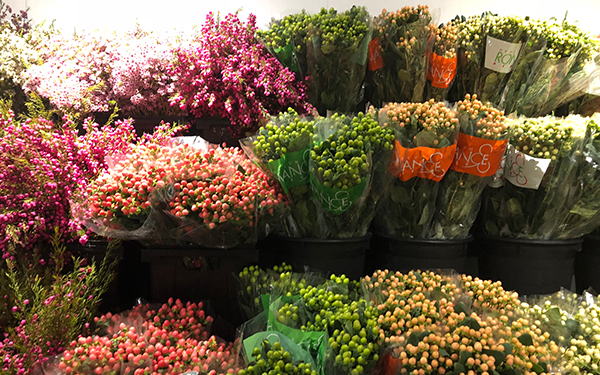
Greenery and fillers, like ferns, lisianthus, eucalyptus, or poms, are a great way to create texture and add shape to your flower arrangement. We choose to use white wax flowers, to accompany out our white mums, and silver dollar eucalyptus for our base greenery. As an added bonus, wax flowers give off a wonderfully light citrus aroma once they start to warm up.
Step 3. Gather Your Tools
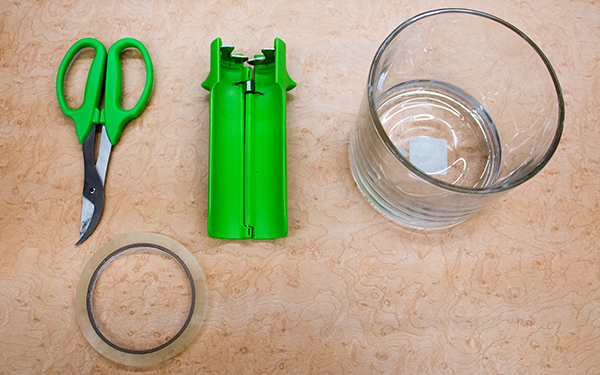
Before you begin, gather your tools, so that everything you need is readily available when you start. You will need a vase, floral scissors or a sharp paring knife, clear floral tape (or regular tape narrowed down), and a couple of empty buckets. If you are working with roses, you may want to utilize a rose stem cleaner for stripping thorns.
Step 4. Select a Container
Choosing the right vase for your flower arrangement is almost as important as picking the right flowers. Consider the height, volume, and desired aesthetics. Tall arrangements, or ones that include flowers with heavy heads, require a vase that will provide adequate support (otherwise your flowers will droop). If you are a beginner, vases with a pitch will be more challenging to use because the stems will kick out.
We selected a clear, shorter cylinder vase. This neutral style is perfect for beginners and allows the beauty of the flowers to really shine. These heavy, short vases are also great if you need to transport your arrangement because they don’t tip over!
Before you begin, make sure the vase is clean. Scrub your vase using a sponge with a little baking soda and then rinse clean. Do not use dish soap to clean your vase as it leaves a residue that will cause your flowers to wilt faster.
Step 5. Process Your Flowers
A couple hours before, carefully unpack your stems. Fill your buckets with room temperature water. (Water that is too hot or too cold will shock the flowers.) Add flower food to the water. Trim the stems a little, and then organize the blooms by type before placing in the buckets. Properly processing your flowers will ensure that they have time to come to room temperature, hydrate, and open a little.
Step 6. Decide on Shape
Prior to starting your arrangement, decide on your desired shape — triangular, circular, crescent, vertical, or horizontal. Your shape will largely be influenced by the types of flowers and style of the vase that you pick.
For our arrangement, we went with a more round/circular shape that pairs well with the shorter cylinder vase we selected.
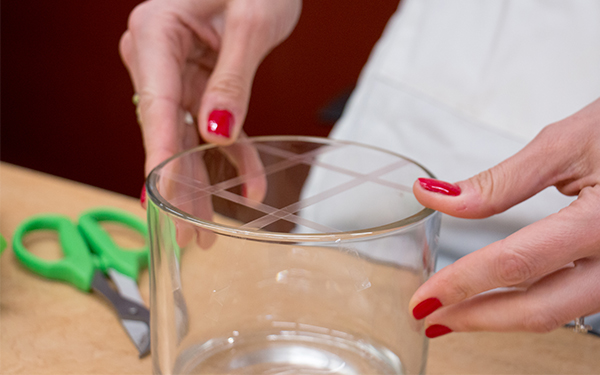
Step 7. Create a Grid
Using clear floral tape, create a tic-tac-toe grid across the top of the vase and secure the tape about half an inch down the side of the vase. (You’ll want it to overhang enough to stick securely to the vase, but short enough so that it is not easily visible by admirers.) The tape grid will act as a foundation — it not only helps you space the flowers evenly but also aids in supporting and holding the flowers in place as you go.
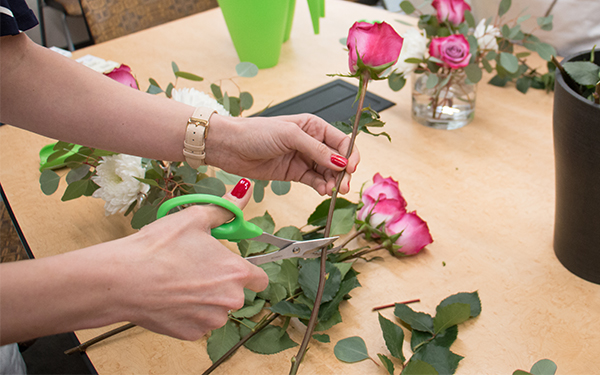
Step 8. Trim the Stems
Cut each stem at a 45-degree angle right before you are about to arrange it in the vase. This angle gives the blooms more surface area for absorbing water than a straight across cut. An angled cut prevents the stem from suctioning to the bottom of the container. It also stops air bubbles from forming at the base, which might otherwise prevent the flower from getting the water it needs.
Blooms with woody stems, such as azaleas, chrysanthemum, or lilacs, often have trouble absorbing enough water. This is one of the reasons they wilt so quickly. To make these flowers last longer, trim at a 45-degree angle and then make a single ½ inch vertical cut up the stem.
During this time you should also remove any leaves that will fall below the waterline. (Leaves submersed in water will decompose quickly and cause murky, foul-smelling water due to bacteria growth.) This crucial step will help your floral arrangement last much longer.
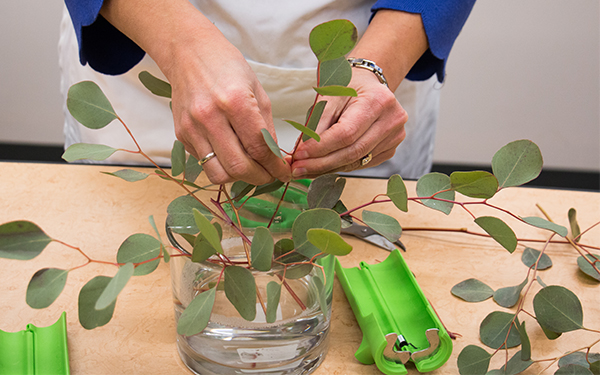
Step 9. Start with the Greenery
Fill your vase half full of water that has flower food in it. Begin your flower arrangement by adding a stem of your greenery to each section of your grid. This will serve as the base. Loosely weave the stems together so that they intertwine and stay in place.
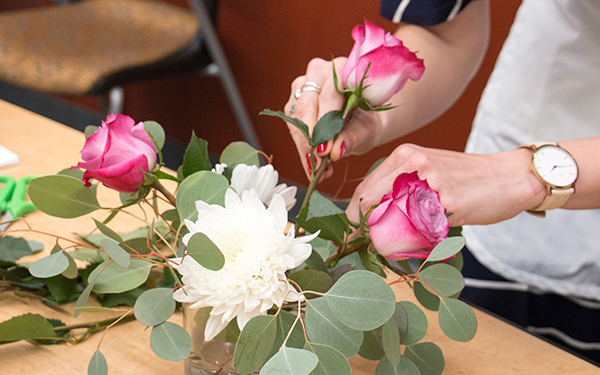
Step 10. Arrange Flower from Largest to Smallest
Now the fun part — adding the flowers! Start with your larger blooms. These will be the focal point of the arrangement and will help to create the overall shape. Then work in your smaller accent flowers. Be sure to rotate your vase as you go and rework as needed. This ensures that your final product is beautiful from every angle. Once you are done arranging, top the vase off with water, but make sure it does not cover any leaves.
For our arrangement, we started with the large white mums and then added the two-tone roses. From there, we worked in the more delicate spray roses. Little sprigs of wax flowers help to pull the look together, filling any bare spots and creating a luscious arrangement.

Step 11. Handle the Roses with Care
Roses add a romantic touch to any arrangement, but they can often be finicky to work with. When selecting roses, be sure to feel the head. The blooms should be open, but firm. If they aren’t as open as you would like, simply blow into the top and then gently feather the petals out. Before adding the roses gently remove the outermost petals (guard petals), that might be wilted or slightly discolored. Trim the roses right before placing them in the vase as the stems tend to scab over quickly (this scab will prevent the roses from getting the water they need).
Step 12. Putting Your Flowers on Display
Flowers can be a great addition to any living space. The best place to display a floral arrangement is in a cool place, out of direct sunlight. A well-kept vase of flowers will typically last anywhere from 5-7 days.
If you are creating arrangements for a special event, such as a wedding or party, start no more than one or two days prior. Finished arrangements should be stored in a cool, dark space. But, they should not be placed in a refrigerator that has been used for food storage because it can cause the flowers to decompose faster.
BONUS: Making Your Arrangement Last
To keep your DIY flower arrangement looking its best, you should change the water and trim the stems every couple of days. To change the water on more elaborate displays, that are hard to remove from the vase, simply place it under the tap and allow the water to run out. For flowers that drink from their blooms, like hydrangeas, mist the blooms with a spray bottle every couple of days.
If your flower arrangement is starting to wilt, don’t throw out the whole thing! Simply remove the wilted buds from the arrangement and rearrange as needed or take out the surviving blooms and display them in individual bud vases for a simplistic and elegant look.
Voila! You now have made a stunning arrangement of flowers. Pair it with a gourmet chocolate gift and you have the perfect present for any occasion or celebration! Share your floral arrangements with us @LCChocolates with the hashtags #iloveLCC and #flowerschocolate so that we can see your beautiful creations!
Interested in learning more? Or maybe you are just looking for some hands-on experience? Enjoy a fun girl’s night out arranging flowers at an Alice’s Table event near you! Want to do your wedding flower arrangements yourself, but need a pro to assist? Enlist the help of Alice’s Table!